Cloud Host
| Koyeb | Heroku | Render |
|---|---|---|
 |  |  |
Koyeb (Free)
- YT Video:
- YT Video by a user:
For most people above videos are enough to deploy Moon-Userbot. Though if you still haven’t been able to understand or deploy Moon-Userbot or maybe you’re a reading type person (like me), then continue reading.
1. Create your account
Go to Koyeb and sign up. Remember to use your real Gmail or your GitHub for it.
2. Generate a string session
Using this script or Replit.
3. Deploy
Click on Deploy to Koyeb.
You’ll be redirected to Koyeb’s Deploy page. It’ll look like this:
| PC | Mobile |
|---|---|
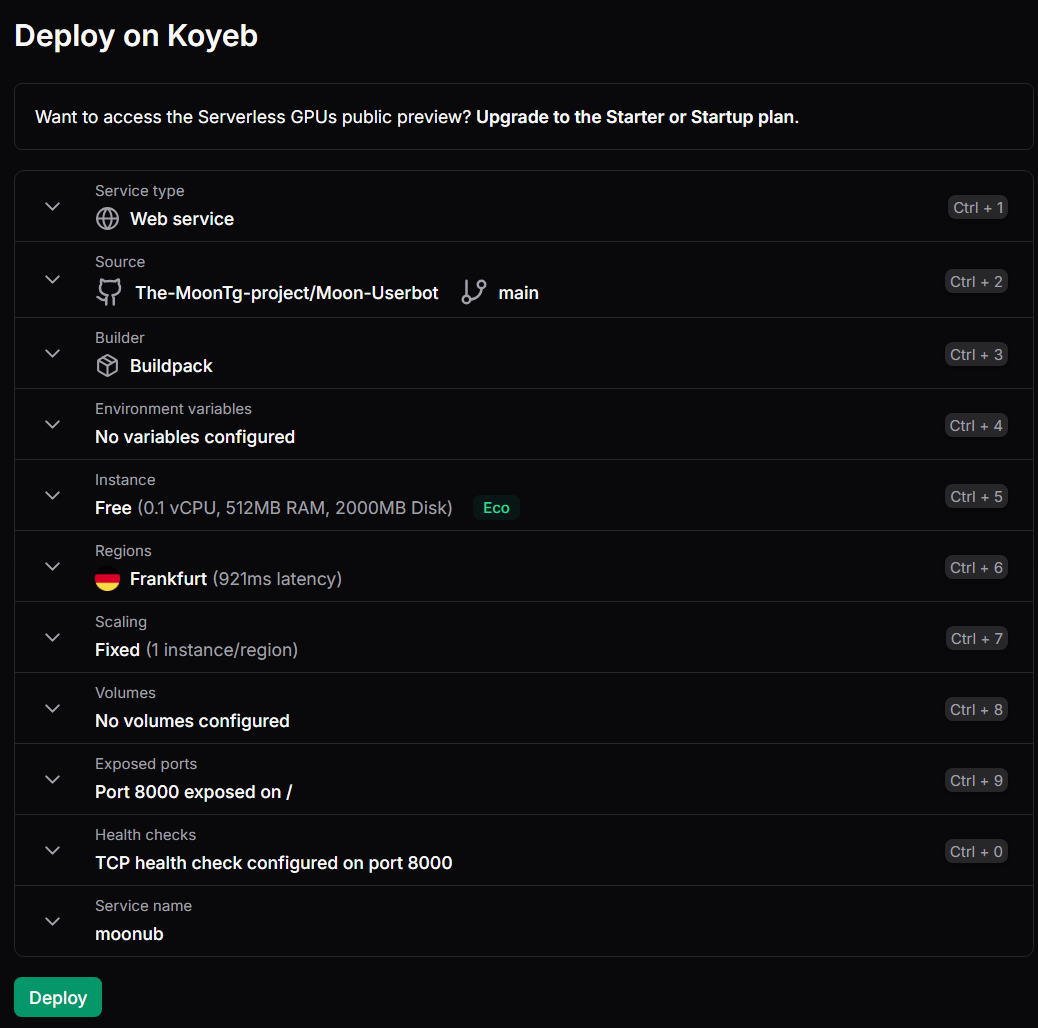 | 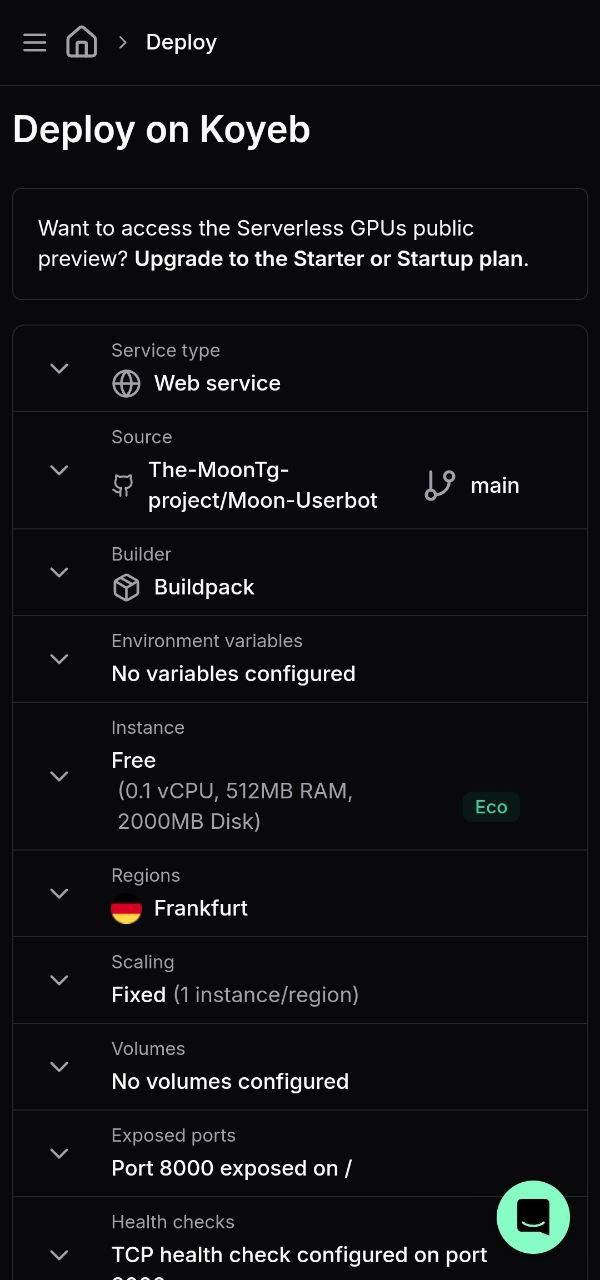 |
4. Configure environment variables:
Step A: Click on Environment Variables |
Step B: Choose Raw Editor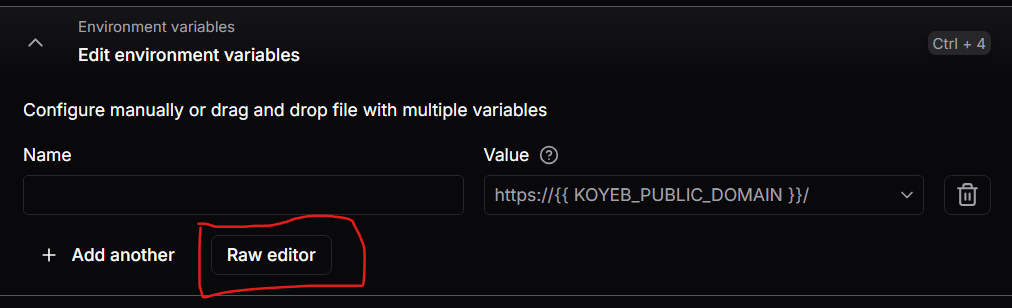 |
Step C: Copy and paste .env.dist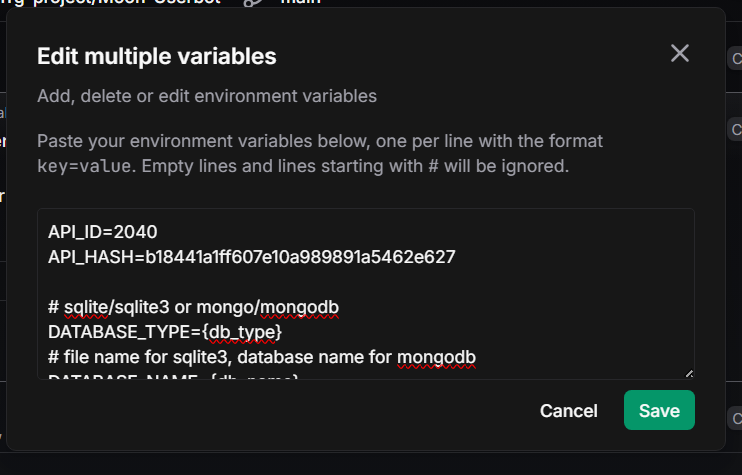 |
Step D: Edit the variables with your own values. Do not remove any variable. Leave it blank if you don't want to use an optional variable. |
Step E: Add a variable PORT with value 8080 |
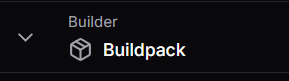
5. Choose builder:
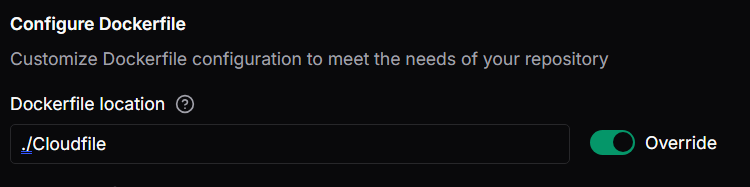
Dockerfile: Override Dockerfile location
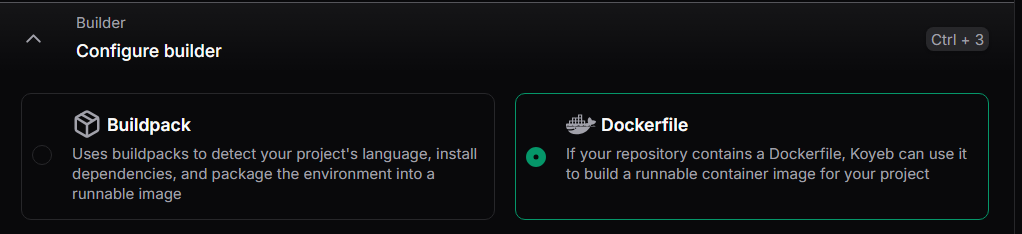
Buildpacks: Override run command as
python main.py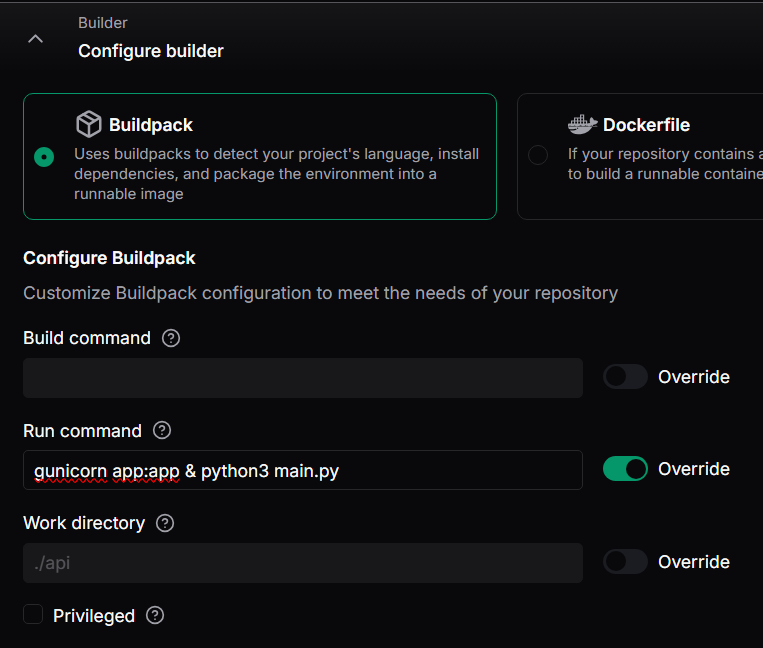
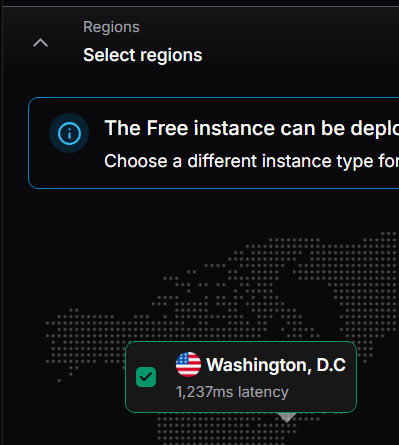
6. Choose region as Washington DC.
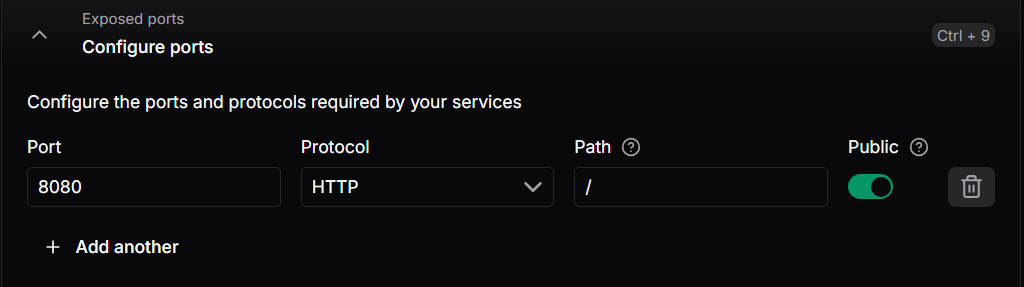
7. Change Exposed Port to 8080.
8. Click Deploy and wait for the build to finish.
Render
Click on Deploy to Render.
Add your environment variables. Click New Environment Variable.
Copy and paste the contents of .env.dist.
Edit the variables with your own values.
Click Add to save them.
Render will automatically build and deploy your Moon-Userbot.
Heroku
Heroku is no longer free. But you can still deploy Moon-Userbot on Heroku if you’re a paid user of it. Since we don’t have any paid Heroku account, we can’t provide you with a detailed guide. Feel free to contribute if you have a paid Heroku account and can help us with the guide.